NVIDIA Jetson YOLOv8 Object Detection

YOLOv8 from Ultralytics
Ultralytics YOLOv8 is a cutting-edge, state-of-the-art (SOTA) model that builds upon the success of previous YOLO versions and introduces new features and improvements to further boost performance and flexibility. YOLOv8 is designed to be fast, accurate, and easy to use, making it an excellent choice for a wide range of object detection and tracking, instance segmentation, image classification and pose estimation tasks
YOLO: A Brief History
YOLO (You Only Look Once), a popular object detection and image segmentation model, was developed by Joseph Redmon and Ali Farhadi at the University of Washington. Launched in 2015, YOLO quickly gained popularity for its high speed and accuracy.
- YOLOv2, released in 2016, improved the original model by incorporating batch normalization, anchor boxes, and dimension clusters.
- YOLOv3, launched in 2018, further enhanced the model's performance using a more efficient backbone network, multiple anchors and spatial pyramid pooling.
- YOLOv4 was released in 2020, introducing innovations like Mosaic data augmentation, a new anchor-free detection head, and a new loss function.
- YOLOv5 further improved the model's performance and added new features such as hyperparameter optimization, integrated experiment tracking and automatic export to popular export formats.
- YOLOv6 was open-sourced by Meituan in 2022 and is in use in many of the company's autonomous delivery robots.
- YOLOv7 added additional tasks such as pose estimation on the COCO keypoints dataset.
- YOLOv8 is the latest version of YOLO by Ultralytics. As a cutting-edge, state-of-the-art (SOTA) model, YOLOv8 builds on the success of previous versions, introducing new features and improvements for enhanced performance, flexibility, and efficiency. YOLOv8 supports a full range of vision AI tasks, including detection, segmentation, pose estimation, tracking, and classification. This versatility allows users to leverage YOLOv8's capabilities across diverse applications and domains.
Models
YOLOv8 Detect, Segment and Pose models pretrained on the COCO dataset are available here, as well as YOLOv8 Classify models pretrained on the ImageNet dataset. Track mode is available for all Detect, Segment and Pose models.
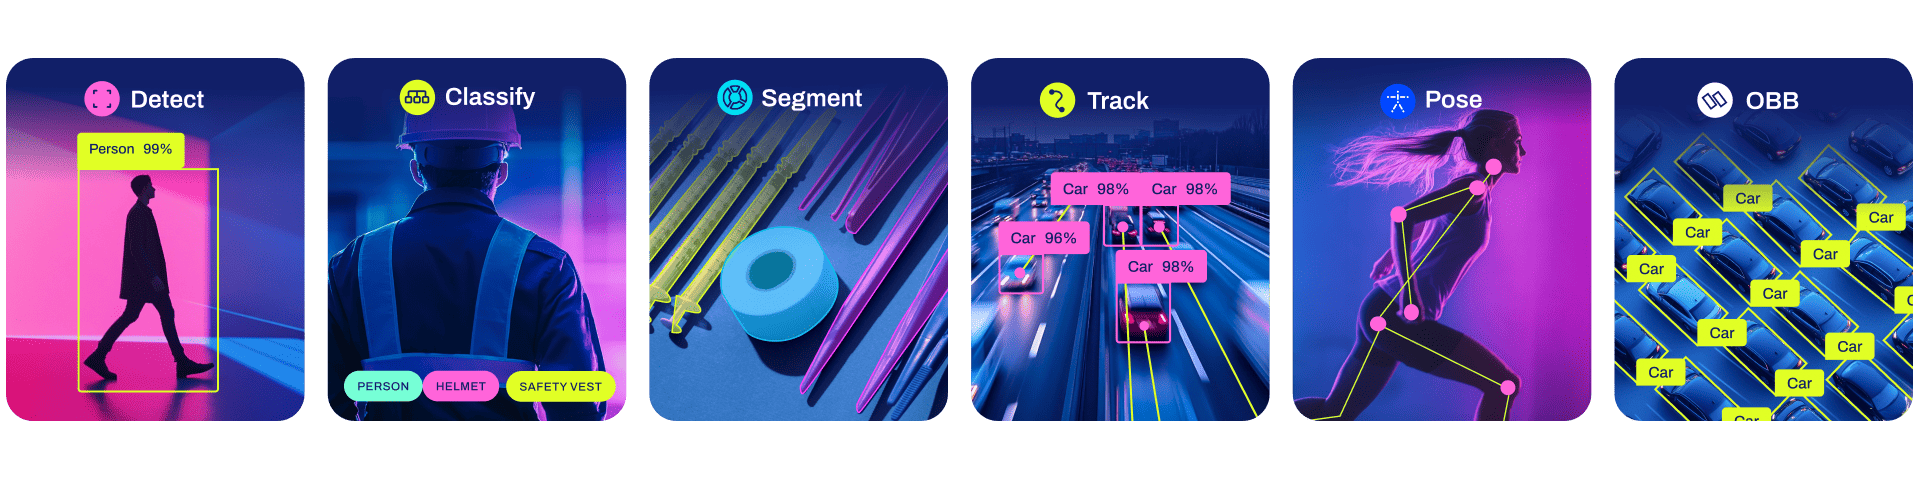
All Models download automatically from the latest Ultralytics release on first use.


Test on NVIDIA Jetson Nano

jetson@nano:~$ sudo pip3 uninstall torch torchvision scipy pandas urllib3 -y
jetson@nano:~$ sudo pip3 install scipy pandas urllib3
# download the wheel
$ gdown https://drive.google.com/uc?id=1TqC6_2cwqiYacjoLhLgrZoap6-sVL2sd
# install PyTorch 1.10.0
$ sudo -H pip3 install torch-1.10.0a0+git36449ea-cp36-cp36m-linux_aarch64.whl
From Source
jetson@nano:~$ sudo apt-get install -y libopenblas-base libopenmpi-dev
jetson@nano:~$ wget https://nvidia.box.com/shared/static/fjtbno0vpo676a25cgvuqc1wty0fkkg6.whl -O torch-1.10.0-cp36-cp36m-linux_aarch64.whl
jetson@nano:~$ sudo -H pip3 install torch-1.10.0-cp36-cp36m-linux_aarch64.whl
# download TorchVision 0.11.0
$ gdown https://drive.google.com/uc?id=1C7y6VSIBkmL2RQnVy8xF9cAnrrpJiJ-K
# install TorchVision 0.11.0
$ sudo -H pip3 install torchvision-0.11.0a0+fa347eb-cp36-cp36m-linux_aarch64.whl
jetson@nano:~$ sudo apt-get install libjpeg-dev zlib1g-dev libpython3-dev
jetson@nano:~$ sudo apt-get install libavcodec-dev libavformat-dev libswscale-dev
jetson@nano:~$ gdown https://drive.google.com/uc?id=1C7y6VSIBkmL2RQnVy8xF9cAnrrpJiJ-K
jetson@nano:~$ sudo -H pip3 install torchvision-0.11.0a0+fa347eb-cp36-cp36m-linux_aarch64.whl
sudo apt install -y libjpeg-dev zlib1g-dev
git clone --branch v0.11.1 https://github.com/pytorch/vision torchvision
cd torchvision
sudo python3 setup.py install
jetson@nano:~$ python3
Python 3.6.9 (default, Mar 15 2022, 13:55:28)
[GCC 8.4.0] on linux
Type "help", "copyright", "credits" or "license" for more information.
>>> import torch
>>> torch.cuda.is_available()
True
>>>

git clone https://github.com/amphancm/ultralytics.git
jetson@nano:~$ git clone https://github.com/amphancm/ultralytics.git
jetson@nano:~$ cd ultralytics/
jetson@nano:~/ultralytics$ sudo python3 setup.py install
Using /usr/local/lib/python3.6/dist-packages
Finished processing dependencies for ultralytics==8.0.51

jetson@nano:~$ mkdir YOLOv8
jetson@nano:~/YOLOv8$ yolo detect predict model=yolov8n.pt source='https://ultralytics.com/images/bus.jpg' show=True
Downloading https://github.com/ultralytics/assets/releases/download/v0.0.0/yolov8n.pt to yolov8n.pt...
100%|███████████████████████████████████████| 6.23M/6.23M [00:00<00:00, 10.1MB/s]
Unable to init server: Could not connect: Connection refused
WARNING ⚠️ Environment does not support cv2.imshow() or PIL Image.show()
OpenCV(4.6.0) /home/jetson/opencv/modules/highgui/src/window_gtk.cpp:635: error: (-2:Unspecified error) Can't initialize GTK backend in function 'cvInitSystem'
Ultralytics YOLOv8.0.51 🚀 Python-3.6.9 torch-1.10.0 CUDA:0 (NVIDIA Tegra X1, 3963MiB)
YOLOv8n summary (fused): 168 layers, 3151904 parameters, 0 gradients, 8.7 GFLOPs
Downloading https://ultralytics.com/images/bus.jpg to bus.jpg...
100%|█████████████████████████████████████████| 476k/476k [00:00<00:00, 16.1MB/s]
image 1/1 /home/jetson/YOLOv8/bus.jpg: 640x480 4 persons, 1 bus, 1 stop sign, 89.7ms
Speed: 25.0ms preprocess, 89.7ms inference, 273.7ms postprocess per image at shape (1, 3, 640, 640)
jetson@nano:~/YOLOv8$
Convert Model to TensorRT ( Engine file ) for better performance

Convert PT (pytorch) to engine (TensorRT)
yolo export model=yolov8n.pt format=engine half=True device=0
jetson@nano:~$ yolo export model=yolov8n.pt format=engine half=True device=0
TensorRT: export success ✅ 350.0s, saved as yolov8n.engine (12.8 MB)
Export complete (374.0s)
Results saved to /home/jetson/YOLOv8
Predict: yolo predict task=detect model=yolov8n.engine imgsz=640
Validate: yolo val task=detect model=yolov8n.engine imgsz=640 data=coco.yaml
89.7ms Speed : 25.0ms preprocess, 89.7ms inference, 273.7ms
postprocess per image at shape (1, 3, 640, 640)
jetson@nano:~$ yolo detect predict model=yolov8n.engine source=’bus.jpg’ show=True
Compare Model PT and Engine
On NVDIA Jetson Xavier NX
Detect Image with Pytorch Model = 204.6 msDetect Image with TensorRt Model = 49.9 ms

Reference


